Welcome to the Regal Kitchen Pro Bread Maker Manual! This guide provides essential instructions, recipes, and troubleshooting tips to help you make perfect bread effortlessly. Follow the manual for optimal performance and safety.
1.1 Overview of the Regal Kitchen Pro Bread Maker
The Regal Kitchen Pro Bread Maker is a versatile appliance designed to simplify bread-making at home. With models like the K6744S and K6745S, it offers features such as multiple settings, crust color control, and a delay timer. The machine supports loaf sizes from 1.5 to 2 pounds, catering to various household needs. Its user-friendly interface includes an LCD display for easy navigation. Known for its durability and ease of use, the Regal Kitchen Pro is a popular choice among baking enthusiasts. This manual will guide you through its features, operation, and maintenance to ensure optimal performance.
1.2 Importance of Reading the Manual
Reading the Regal Kitchen Pro Bread Maker manual is crucial for understanding its features, safety guidelines, and troubleshooting tips. It provides detailed instructions for optimal use, ensuring you get the best results from your appliance. The manual covers warranty information, essential safety precautions, and specific guidelines for maintaining the non-stick pan. By following the manual, you can avoid common issues and extend the lifespan of your bread maker. It also offers insights into advanced settings, such as crust color control and delay timers, helping you customize your bread-making experience effectively. Keep the manual handy for quick reference and troubleshooting.
Features and Benefits of the Regal Kitchen Pro Bread Maker
The Regal Kitchen Pro Bread Maker offers a non-stick pan, LCD display, delay timer, and multiple settings for crust color and loaf size, ensuring versatile baking options.
2.1 Capacity and Loaf Sizes
The Regal Kitchen Pro Bread Maker offers versatile loaf sizes, ranging from 1.5 to 2 pounds, catering to various household needs. This feature allows users to bake smaller loaves for families or larger ones for gatherings. The machine’s capacity ensures even cooking, providing consistent results. Whether you prefer a compact loaf or a hearty size, this bread maker adapts to your preferences, making it ideal for diverse baking requirements and ensuring freshness with every batch.
2.2 Multiple Settings and Presets
The Regal Kitchen Pro Bread Maker features an array of customizable settings and presets, allowing users to tailor their baking experience. With 11 mix-in settings, you can craft everything from classic white bread to whole-grain, gluten-free, and even sweet bread. The machine also offers customizable options for crust color and delay timers, ensuring your bread is baked to perfection according to your preferences. These versatile presets make it easy to experiment with various recipes while maintaining consistent results, catering to both novice and experienced bakers alike.
2.3 Crust Color Control
The Regal Kitchen Pro Bread Maker offers a crust color control feature, allowing you to choose between light, medium, or dark crust options. This feature ensures your bread is baked to your desired crispiness and color. Whether you prefer a soft, lightly golden crust or a crispy, dark crust, the machine adjusts its baking cycle accordingly. This customizable option enhances the versatility of the bread maker, providing consistent results and catering to individual preferences. It’s a key feature that makes the Regal Kitchen Pro a standout choice for home bakers seeking precision and variety in their bread-making experience.
2.4 Delay Start Timer
The Regal Kitchen Pro Bread Maker features a convenient delay start timer, enabling you to schedule baking up to 24 hours in advance. This feature allows you to prepare ingredients and set the timer, so your bread is ready exactly when you need it. Perfect for busy schedules, the delay function ensures fresh homemade bread without constant monitoring. Simply load the ingredients, select the desired settings, and let the machine do the work while you attend to other tasks. This functionality adds flexibility and convenience to your bread-making routine, making it ideal for home use. Fresh bread, made easy and on your time, is just a setting away with the Regal Kitchen Pro.
2.5 Non-Stick Baking Pan
The Regal Kitchen Pro Bread Maker includes a high-quality non-stick baking pan, designed to ensure even baking and effortless bread release. This durable pan prevents bread from sticking, reducing the risk of damage during removal. Its smooth surface also makes cleaning easier, as residue and crumbs can be wiped away quickly. To maintain the pan’s non-stick coating, avoid using metal utensils or abrasive cleaners. Regular care ensures the pan remains in excellent condition, providing consistent results for all your bread-making needs. This feature enhances both the baking process and post-bake cleanup, making it a practical addition to the machine.
2.6 LCD Display and Intuitive Controls
The Regal Kitchen Pro Bread Maker features an easy-to-read LCD display and intuitive controls, making it simple to navigate through various settings and options. The clear interface allows you to select loaf sizes, crust colors, and delay timers with ease. The display provides real-time updates on the baking progress, ensuring you stay informed throughout the process. The user-friendly design makes it accessible for both beginners and experienced bakers to customize their bread-making experience effortlessly. This feature enhances the overall convenience and efficiency of using the machine, making it a standout addition to any kitchen.
Getting Started with Your Regal Kitchen Pro Bread Maker
Welcome to your Regal Kitchen Pro Bread Maker! This section guides you through unboxing, initial setup, and essential steps to begin baking. Always read the manual and follow safety precautions for a smooth experience.
3.1 Unboxing and Initial Setup
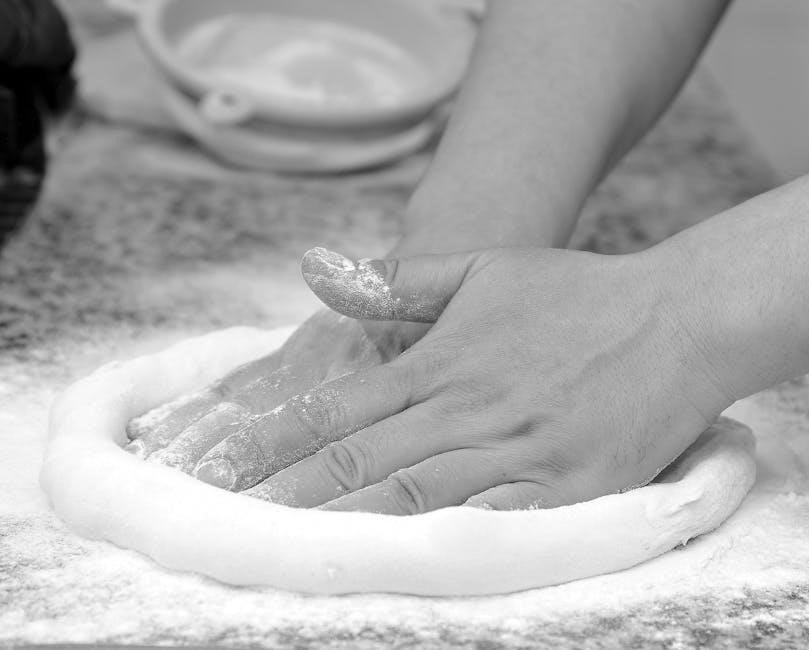
Unboxing your Regal Kitchen Pro Bread Maker is an exciting start to your baking journey! Carefully unpack the appliance, non-stick baking pan, and measuring utensils. Inspect all components for damage. Place the bread maker on a stable, heat-resistant surface. Before first use, wash the non-stick pan and utensils with warm, soapy water. Dry thoroughly to prevent rust. Plug in the appliance and ensure all parts are secure. Read the safety precautions in the manual to avoid accidents. Familiarize yourself with the control panel before proceeding. Proper setup ensures optimal performance and longevity of your bread maker.
3.2 Understanding the Control Panel
The Regal Kitchen Pro Bread Maker features an intuitive control panel designed for easy navigation. Key components include the Start/Stop button, Crust Color selector, and Delay Timer buttons. The Menu button allows you to cycle through preset options like Basic, Whole Wheat, and Dough. Use the +/- buttons to adjust loaf size and timer settings. The LCD Display shows your selected settings, ensuring clarity. Familiarize yourself with these controls to customize your baking experience. Proper use of the control panel is essential for achieving perfect results. Take a moment to explore each feature before starting your first batch of bread.
3.3 Measuring Ingredients Accurately
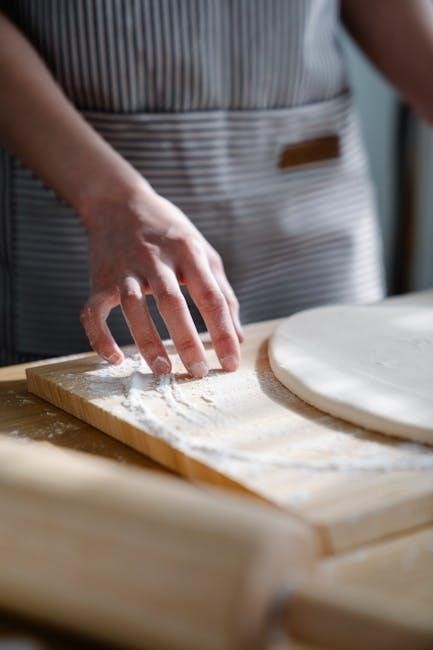
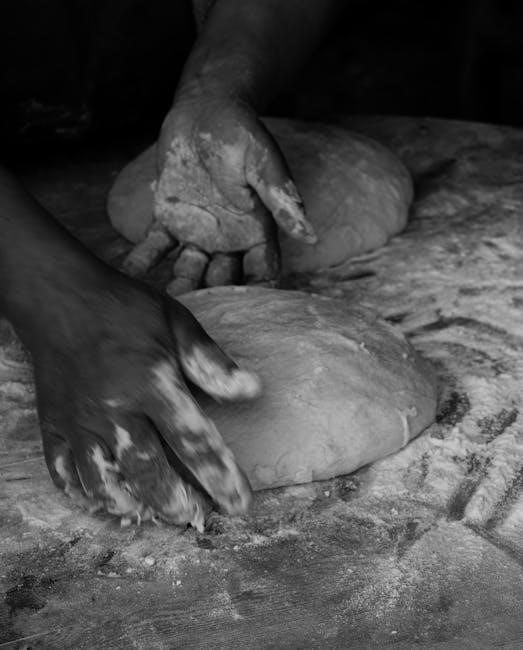
Accurate measurement of ingredients is crucial for optimal results with your Regal Kitchen Pro Bread Maker. Use a digital scale or measuring cups to ensure precise quantities. Flour, yeast, salt, and sugar must be measured carefully to avoid over- or under-proofing. Liquids, such as water or milk, should be measured precisely to maintain dough consistency. Always level dry ingredients and avoid packing them into the cup. Proper measurement ensures the right balance of ingredients, leading to a perfectly baked loaf. Refer to the manual for specific guidelines on measuring common ingredients like yeast and flour.
3.4 Safety Precautions
Always prioritize safety when using your Regal Kitchen Pro Bread Maker. Read the manual thoroughly before first use and keep it in a safe place for future reference. Ensure the appliance is placed on a stable, heat-resistant surface away from children. Avoid overheating by not covering the bread maker during operation. Keep electrical cords away from water and heat sources. Never leave the appliance unattended while in use. Use oven mitts when handling the hot baking pan. Avoid using damaged cords or plugs, as this could lead to electrical hazards. Proper maintenance ensures longevity and safe operation.
Operating the Regal Kitchen Pro Bread Maker
Operating your Regal Kitchen Pro Bread Maker is straightforward. Follow the basic steps, customize settings, and use the delay timer for convenience. Ensure all settings are correct before starting.
4.1 Basic Operation Steps
To operate your Regal Kitchen Pro Bread Maker, start by measuring ingredients accurately and adding them to the non-stick pan. Select the desired settings on the control panel, including loaf size and crust color. Choose from preset options or customize settings for specific recipes. Once configured, press Start to begin the baking cycle. The machine will handle mixing, kneading, and baking. Monitor the progress through the LCD display and ensure the machine is placed on a stable, heat-resistant surface. Allow the bread to cool before slicing for best results.
4.2 Customizing Your Bread Settings
Customize your bread settings on the Regal Kitchen Pro Bread Maker by exploring its multiple presets and adjusting parameters to suit your preferences. Select from various crust color options, ranging from light to dark, to achieve your desired texture. Use the delay start timer to schedule baking up to 13 hours in advance. Choose from different loaf sizes, including 1.5 or 2-pound options. Experiment with custom settings for yeast, gluten-free, or sourdough recipes. The intuitive control panel allows precise adjustments, ensuring each loaf meets your expectations. Save your favorite settings for quick access in future baking sessions.
4.3 Using the Delay Timer
The Regal Kitchen Pro Bread Maker’s delay timer allows you to schedule baking up to 13 hours in advance. Set the timer by selecting your desired start time using the control panel. Choose from various loaf sizes and crust colors to customize your bread. Input the delay time and confirm with the start button. This feature is ideal for preparing dough in the evening and waking up to freshly baked bread; Combine the delay timer with custom settings for yeast, gluten-free, or sourdough recipes. Plan meals effortlessly with this convenient and user-friendly function.
Recipes and Baking Techniques
Explore a variety of delicious recipes and advanced baking techniques tailored for the Regal Kitchen Pro Bread Maker. From classic white bread to artisan sourdough, this chapter offers inspiration for every skill level. Discover tips for perfect loaves and customize recipes to suit your taste preferences. Enhance your baking experience with expert advice and creative ideas, ensuring every batch is a success.
5.1 Basic Bread Recipes
Start your baking journey with simple yet delicious recipes designed for the Regal Kitchen Pro Bread Maker. Classic white bread, whole wheat, and French bread recipes are perfect for beginners. Follow the manual’s step-by-step instructions to ensure flawless results. Gluten-free and basic sourdough options are also included for dietary needs. Each recipe provides precise measurements and settings to simplify the process. With these foundational recipes, you’ll master the basics and gain confidence to experiment further. Customize settings like crust color and loaf size to suit your preferences. Enjoy fresh, homemade bread with minimal effort using these easy-to-follow guides.
5.2 Advanced and Specialty Recipes
Elevate your baking skills with the Regal Kitchen Pro Bread Maker’s advanced and specialty recipes. From sourdough to gluten-free and multigrain options, the manual offers detailed guides for diverse tastes. Explore herb-infused and cheese bread recipes for unique flavors. Utilize the machine’s multiple settings to achieve perfect results. The delay timer ensures your bread is fresh and ready when you need it. These recipes are designed to maximize the bread maker’s capabilities, allowing you to experiment with new ingredients and techniques. Whether you’re a novice or an experienced baker, these advanced recipes will inspire creativity and delight your palate.
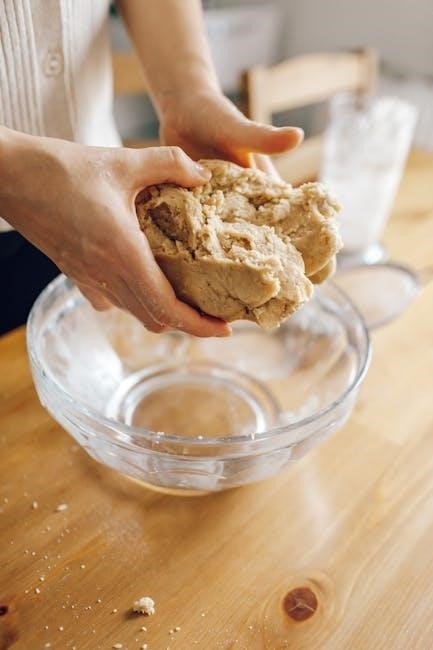
5.3 Tips for Perfect Loaves
Achieving the perfect loaf with your Regal Kitchen Pro Bread Maker requires precision and care. Measure ingredients accurately and ensure all components are at room temperature. Use the right type of flour for your recipe, as this impacts texture. Don’t overmix the dough, as it can lead to dense bread. Utilize the crust color control for your desired finish. Regularly clean and maintain the non-stick pan to prevent sticking. By following these tips, you’ll consistently bake delicious, professional-quality loaves that impress every time. Happy baking!
Troubleshooting Common Issues
Refer to the manual for solutions to common problems like uneven baking or machine errors. Ensure accurate measurements and proper pan maintenance for smooth operation.
6.1 Common Problems and Solutions
Experiencing issues with your Regal Kitchen Pro Bread Maker? Common problems include uneven baking or machine errors. Solutions often involve checking ingredient measurements, ensuring proper pan alignment, and cleaning the appliance regularly. For error codes, consult the manual for specific guidance. Always unplug the machine before troubleshooting to ensure safety. Regular maintenance, like non-stick pan care, can prevent many issues. If problems persist, refer to the official support resources or online forums for additional assistance.
6.2 Error Codes and Their Meanings
Your Regal Kitchen Pro Bread Maker may display error codes like E01 or E02, indicating issues such as temperature sensor malfunctions or motor problems. Refer to the manual for specific code meanings. Solutions often involve resetting the machine or checking internal components. If errors persist, ensure proper cleaning and maintenance. For complex issues, contact official support or consult online resources for detailed troubleshooting guides. Always unplug the machine before attempting repairs to ensure safety.
Maintenance and Cleaning
Regularly clean the bread maker to prevent dough residue buildup. Wipe the exterior with a damp cloth and clean the non-stick pan after each use.
7.1 Cleaning the Bread Maker
Regular cleaning is essential for maintaining your Regal Kitchen Pro Bread Maker. Unplug the machine and allow it to cool before cleaning. Wipe the exterior with a damp cloth to remove any splatters or dust. The non-stick baking pan and kneading blade should be washed with warm, soapy water after each use. Avoid using abrasive cleaners or scrubbers, as they may damage the non-stick coating. Dry all parts thoroughly to prevent rust or water spots. For tougher dough residue, soak the pan in warm water before cleaning. Always refer to the manual for specific cleaning instructions to ensure longevity and optimal performance.
7.2 Maintaining the Non-Stick Pan
To maintain the non-stick pan of your Regal Kitchen Pro Bread Maker, avoid using metal utensils or abrasive cleaners, as they can damage the coating. After each use, wash the pan with warm, soapy water and a soft sponge. For stubborn dough residue, soak the pan in warm water before cleaning. Dry thoroughly to prevent water spots. Occasionally, apply a small amount of cooking oil to the pan to maintain its non-stick properties. Avoid putting the pan in the dishwasher, as high heat can damage the coating. Proper care ensures the pan remains durable and continues to perform effectively for years.
Additional Resources
Explore official support, online forums, and third-party accessories to enhance your Regal Kitchen Pro Bread Maker experience. Find troubleshooting guides, recipes, and expert tips for optimal use. Visit the official website for comprehensive resources and community support to maximize your bread-making journey.
8.1 Official Regal Kitchen Pro Support
The official Regal Kitchen Pro support offers comprehensive assistance, including downloadable manuals, warranty information, and troubleshooting guides. Visit their website for detailed resources and expert advice. Access FAQs, user guides, and repair services to ensure your bread maker operates smoothly. Plus, find contact information for direct support from the manufacturer. This resource is essential for resolving issues and maintaining your appliance.
8.2 Online Communities and Forums
Online communities and forums are excellent resources for Regal Kitchen Pro users. Join platforms like Facebook groups or Reddit to connect with fellow bakers. Share recipes, ask questions, and learn from others’ experiences. These forums often feature troubleshooting tips and creative ideas for using your bread maker. Many users post their favorite recipes and hacks, making these communities a valuable resource for enhancing your baking skills. Engage with others to maximize your appliance’s potential and discover new ways to enjoy homemade bread.
8.3 Third-Party Accessories
Enhance your Regal Kitchen Pro Bread Maker experience with third-party accessories. These include non-stick baking pans, measuring tools, and recipe books. Online marketplaces and specialty kitchen stores offer a variety of options. Accessories can improve functionality, durability, and convenience. Ensure compatibility with your model before purchasing. Many users recommend additional pans for baking multiple loaves. Some third-party items may also include recipes or tips tailored for your bread maker. Explore these accessories to expand your baking capabilities and enjoy even more versatility with your appliance.
Mastering your Regal Kitchen Pro Bread Maker is now within reach! Follow the manual, experiment with recipes, and enjoy fresh, homemade bread. Happy baking!
9.1 Final Tips for Optimal Use
To maximize your Regal Kitchen Pro Bread Maker’s performance, always follow the manual’s guidelines. Clean the machine regularly, use precise measurements, and experiment with recipes. For best results, ensure ingredients are at room temperature and yeast is fresh. Store the manual safely for quick reference. Explore various settings and delay timers to suit your schedule. Happy baking with your Regal Kitchen Pro!