JVC car stereos deliver exceptional in-car entertainment. This guide, alongside your specific model’s manual, ensures optimal use and safe operation of your system.
Overview of JVC In-Car Entertainment Systems
JVCKENWOOD offers a diverse range of in-car entertainment solutions, from basic head units like the KD-R420J to advanced multimedia systems. These systems prioritize audio quality, connectivity, and user-friendly interfaces. JVC car stereos commonly feature Bluetooth for wireless streaming and hands-free calling, USB ports for digital media playback, and compatibility with various audio formats.
Models such as the KD-X252 series emphasize compact designs and essential features, while others boast enhanced sound customization options. Proper installation and understanding of your specific model’s manual are crucial for maximizing performance and ensuring safe operation while driving.
Importance of the User Manual
The user manual is your primary resource for unlocking the full potential of your JVC car stereo. It provides detailed instructions on installation, operation, troubleshooting, and safety precautions. Ignoring the manual can lead to improper setup, missed features, or even damage to the unit.
Specifically, it details wiring diagrams, Bluetooth pairing procedures, and EQ adjustments. Referencing the manual ensures safe volume settings and adherence to regulatory compliance. Always consult the manual before attempting any advanced configurations or repairs.
Understanding Your JVC Car Stereo Model
JVC offers diverse car stereo models like KD-R420J and KD-X252, each with unique features. Identifying your specific model is crucial for accessing the correct manual.
Identifying Your Specific Model (KD-R420J, KD-X252, etc.)
Locating your JVC car stereo’s model number is the first step towards accessing the correct user manual and support resources. The model identifier (e.g., KD-R420J, KD-X252, KD-R421E) is typically found on the unit’s casing.
Check the top or bottom of the stereo itself, or consult the original packaging and purchase receipt. JVC produces a wide range of models, and features vary significantly between them. Accurate identification ensures you’re referencing the documentation tailored to your specific system, maximizing your understanding and enjoyment.
Key Features and Specifications
JVC car stereos boast diverse features, including Bluetooth connectivity for wireless audio streaming and hands-free calling. Many models support USB device compatibility and AUX inputs for versatile audio sources. Specifications vary; power output, pre-amp voltage, and supported audio formats (like MP3, WMA, and WAV) differ between models like the KD-R420J and KD-X252 series.
Refer to your unit’s specifications section within the manual for detailed information regarding its capabilities and supported functionalities.

Initial Setup and Installation
Proper installation is crucial. Always prioritize safety precautions, consult the wiring diagram, and ensure a secure antenna connection before powering on your JVC stereo.
Safety Precautions During Installation
Before beginning installation, disconnect the vehicle’s negative battery terminal to prevent short circuits and potential damage. Exercise caution when working with electrical wiring, ensuring all connections are secure and properly insulated. Avoid installing the unit in locations exposed to excessive moisture or direct sunlight.
Never attempt installation while driving or operating the vehicle. If unsure about any aspect of the installation process, consult a qualified professional. Always follow the manufacturer’s instructions carefully, and prioritize personal safety throughout the entire procedure. Remember to wait until the car’s temperature stabilizes in cold weather.
Wiring Diagram Basics
Understanding the wiring diagram is crucial for correct installation. Typically, you’ll encounter wires for power (12V DC), ground, speaker outputs, antenna, and illumination. The power wire, often yellow, connects to the vehicle’s ignition switch. The ground wire, usually black, connects to the chassis.
Speaker wires vary in color, corresponding to each speaker. Refer to your vehicle’s manual for specific wire colors. Incorrect wiring can damage the unit or vehicle’s electrical system; double-check all connections before restoring power.
Antenna Connection Guide
Proper antenna connection ensures optimal radio reception. Locate the antenna input on the rear of your JVC stereo – it’s typically a standard Motorola connector. Connect the vehicle’s antenna cable securely to this input. Ensure the connection is firm to minimize interference and maximize signal strength.
If using an aftermarket antenna, consult its installation guide for compatibility. A loose or damaged antenna cable can significantly degrade radio performance. Verify the antenna mast is extended for best results.
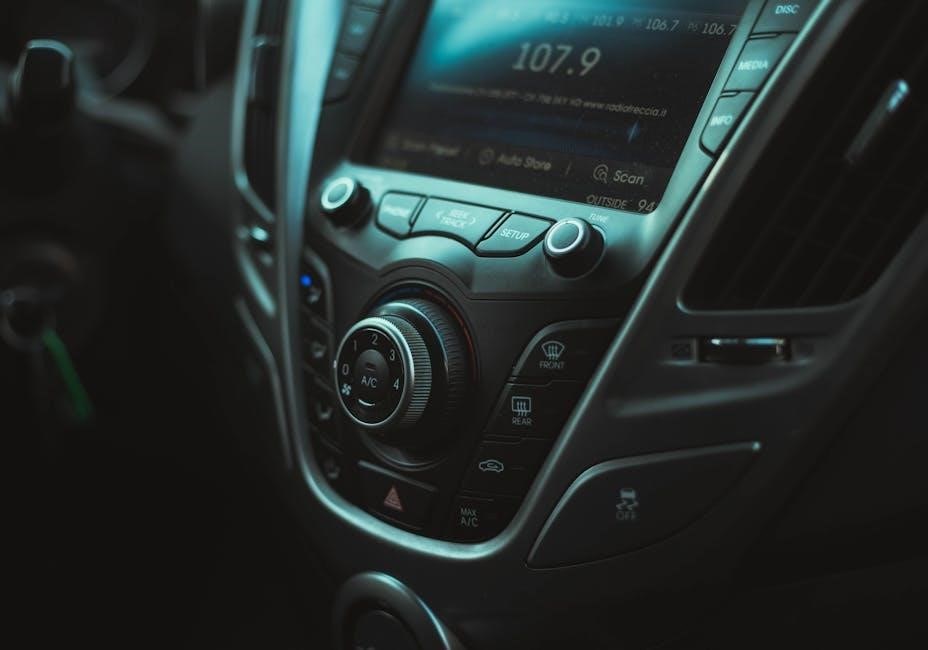
Basic Operations
Power on your JVC stereo and adjust the volume. Select your desired source – FM, AM, CD, Bluetooth, or USB – for immediate audio enjoyment.
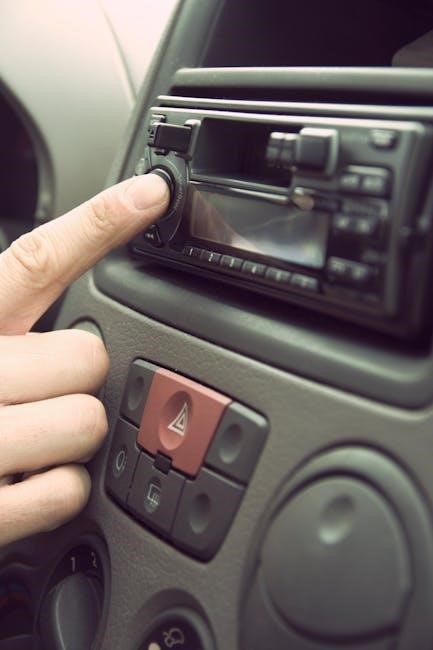
Powering On/Off and Volume Control
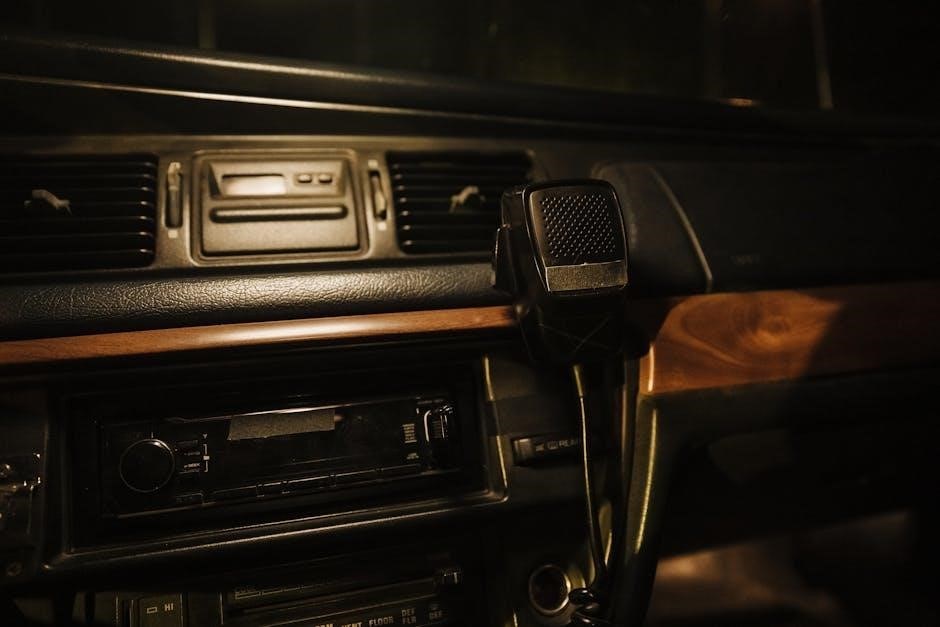
To power on your JVC car stereo, typically press the power button located on the front panel. The unit will illuminate, displaying the current source or radio station. To power off, press and hold the same button until the display shuts off.
Volume adjustment is controlled via a rotary knob or digital buttons. Rotate the knob clockwise to increase the volume and counter-clockwise to decrease it. Digital buttons will have “+” and “-” symbols for volume up and down. Always adjust the volume to a safe level, ensuring you can still hear external sounds for safe driving.
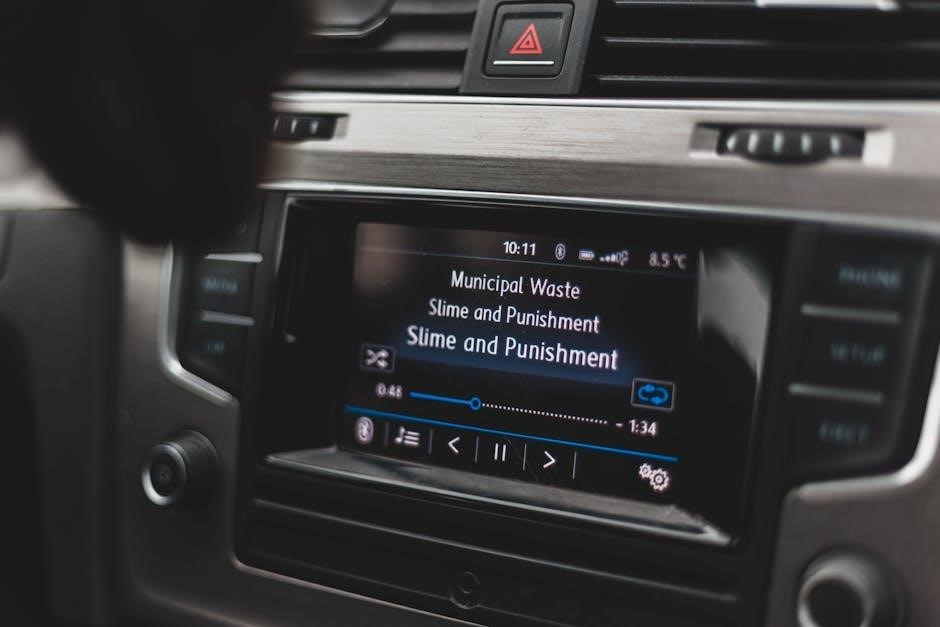
Source Selection (FM, AM, CD, Bluetooth, USB)
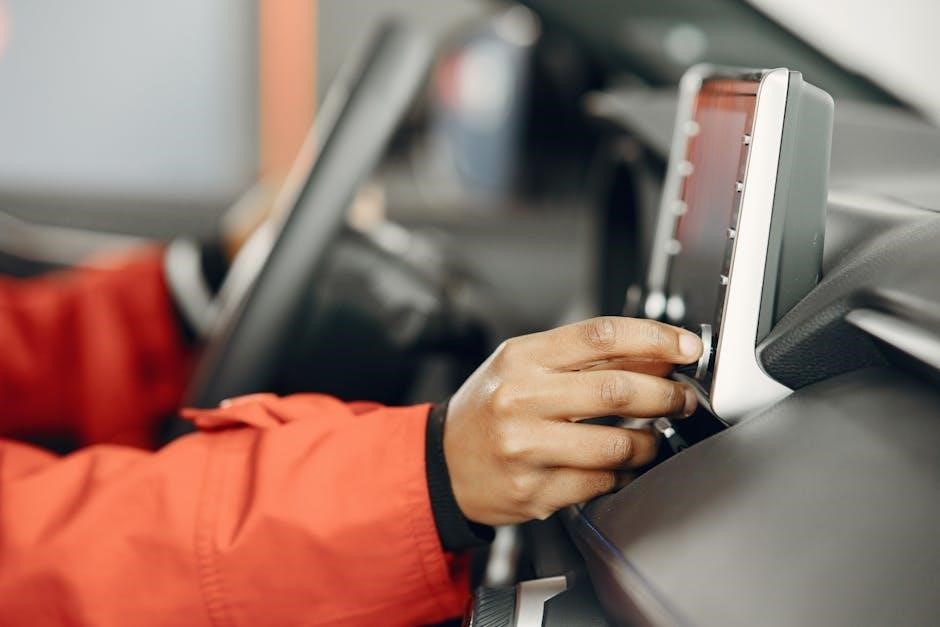
Selecting your desired audio source is straightforward. Press the “Source” or “SRC” button on your JVC stereo. Each press cycles through available options: FM, AM radio, CD (if equipped), Bluetooth for wireless streaming, and USB for playback from connected devices.
For Bluetooth, ensure your device is paired first. For USB, insert a compatible device. The unit will automatically detect and begin playback. Refer to the connectivity section for detailed pairing and device compatibility information.
Tuning into Radio Stations
To tune into radio stations, select either FM or AM as your audio source. Use the tuning knob or the arrow buttons (◄/►) to scan for available stations. For preset stations, press the numbered preset buttons (1-6, or similar) to instantly access your favorites.
To store a station as a preset, tune to the desired frequency, then press and hold a preset button until a confirmation tone sounds. Repeat for other stations. Auto-scan functionality is also available on some models.
Audio Adjustments
Customize your listening experience with JVC’s audio controls. Adjust equalizer settings, balance, fader, and loudness for optimal sound quality within your vehicle.
Equalizer Settings (EQ)
JVC car stereos often feature a built-in equalizer (EQ), allowing precise audio tailoring. Access the EQ settings through the unit’s menu system. You can typically select from preset EQ curves – like Rock, Pop, Classical – or create custom settings;
Adjusting individual frequency bands (bass, mid-range, treble) lets you boost or cut specific sounds. Experiment to find the optimal balance for your music and vehicle’s acoustics. Remember, subtle adjustments often yield the best results. Consider the genre of music you are listening to when making adjustments.
Balance and Fader Control
Balance and fader controls adjust the sound distribution within your vehicle. Balance shifts the audio between the left and right speakers, while fader controls the front and rear speaker output. Access these settings via the stereo’s menu or dedicated buttons.
Adjusting balance compensates for driver position or speaker placement. Fader control ensures optimal sound staging, prioritizing front speakers for clarity or rear speakers for a more immersive experience. Experiment to find the ideal setting for your listening preference and vehicle’s interior.
Loudness Function
The Loudness function boosts bass and treble frequencies at lower volumes, enhancing perceived sound quality. This feature compensates for the human ear’s reduced sensitivity to these frequencies at quieter levels, providing a fuller, richer sound experience during low-volume listening.
However, it’s recommended to disable Loudness at higher volumes, as it can introduce distortion. Access the Loudness setting through the stereo’s audio menu. Adjust based on your preference and listening environment for optimal sound clarity and enjoyment.
Connectivity Options
JVC stereos offer versatile connectivity, including Bluetooth for wireless streaming, USB ports for device integration, and auxiliary inputs for external audio sources.
Bluetooth Pairing and Streaming
To pair a device, navigate to the Bluetooth menu on your JVC stereo and enable pairing mode. On your smartphone or other device, search for available Bluetooth devices and select your JVC unit. You may be prompted to enter a PIN – typically “0000”.
Once paired, you can stream audio wirelessly. Select “Bluetooth” as the audio source on your stereo. Ensure your device’s volume is appropriately adjusted for optimal sound quality. Some models support multiple paired devices, allowing easy switching between sources. Refer to your specific model’s manual for detailed instructions.
USB Device Compatibility
JVC car stereos generally support most USB mass storage devices, including USB flash drives and some MP3 players. Ensure your USB device is formatted with a compatible file system, typically FAT32 or NTFS. The stereo can usually play MP3, WMA, WAV, and FLAC audio files.
To use a USB device, simply plug it into the USB port on your stereo. Select “USB” as the audio source. The stereo will scan the device and display the available tracks. Avoid using damaged or unreliable USB devices to prevent potential issues.
Auxiliary Input (AUX) Usage
The AUX input allows connection of external audio devices, such as smartphones or MP3 players, using a 3.5mm stereo audio cable (not always included). Connect one end of the cable to the headphone jack of your external device and the other to the AUX input on your JVC stereo.
Select “AUX” as the audio source on your stereo. Audio playback will then be routed through the car’s speakers. Ensure the volume on both the stereo and the connected device are appropriately adjusted for optimal sound quality.
Advanced Features
Explore enhanced functionalities like hands-free calling via Bluetooth and potential voice control options, alongside steering wheel integration for convenient operation.
Hands-Free Calling (Bluetooth)
JVC car stereos with Bluetooth capability offer a convenient and safer driving experience through hands-free calling. To initiate, pair your smartphone with the stereo following the on-screen prompts. Once connected, utilize the unit’s microphone for clear conversations.
Answer or end calls directly from the stereo’s interface. Some models support voice dialing, allowing call initiation with voice commands. Ensure a stable Bluetooth connection for optimal call quality. Refer to your model’s specific manual for detailed pairing instructions and supported Bluetooth profiles.
Voice Control Functionality
JVC car stereos featuring voice control enhance usability while keeping your focus on the road. Activate the function via a dedicated button or steering wheel control (if integrated). Supported commands typically include source selection, track control, and volume adjustment.
Some models offer voice dialing through paired smartphones. Consult your unit’s manual for a complete list of available voice commands and specific activation procedures. Ensure clear pronunciation for accurate recognition. This feature promotes safer driving by minimizing manual operation of the stereo.
Steering Wheel Control Integration
JVC car stereos often support integration with your vehicle’s existing steering wheel controls. This allows you to manage key functions – volume, track selection, source changes – without taking your hands off the wheel, enhancing safety.
A separate adapter interface may be required, depending on your car’s make and model. Consult the JVC website or a professional installer for compatibility information and proper installation procedures. Correct wiring is crucial for seamless operation of these integrated controls.
Troubleshooting Common Issues
Resolve typical problems like no power, sound distortion, or Bluetooth connectivity issues with this section’s guidance, ensuring optimal performance of your JVC stereo;
No Power to the Unit
If your JVC car stereo fails to power on, first verify the vehicle’s ignition is fully engaged. Next, meticulously check the unit’s power and ground connections – ensure they are secure and free from corrosion. Inspect the fuse associated with the stereo; a blown fuse is a common culprit.
Consult your vehicle’s owner’s manual for fuse location; If the fuse repeatedly blows, a short circuit may exist, requiring professional attention. Confirm the wiring harness is correctly connected, and the remote turn-on lead is functioning properly. A multimeter can assist in verifying voltage at the unit’s power input.
Sound Distortion or No Sound
Experiencing sound distortion or complete silence? Begin by verifying the volume level and ensuring the correct audio source is selected; Check speaker connections – loose or corroded wires can cause issues. Examine the equalizer settings; extreme adjustments might introduce distortion. If using Bluetooth, confirm a stable connection and adequate source volume.
Test with different audio sources to isolate the problem. A faulty speaker or the stereo unit itself could be the cause. If distortion persists, professional diagnosis is recommended to prevent further damage.
Bluetooth Connection Problems
Troubleshooting Bluetooth connectivity issues? First, ensure Bluetooth is enabled on both your stereo and mobile device. Verify the devices are within range. Delete previous pairings on both sides and re-pair them. Confirm your device isn’t connected to another Bluetooth device simultaneously.
Check for software updates for both the stereo and your phone. Interference from other wireless devices can also cause problems. If issues persist, a factory reset of the stereo’s Bluetooth module might be necessary.
Maintenance and Care
Regular cleaning with a soft cloth keeps your JVC stereo looking new. Protect it from extreme temperatures and potential software updates if available.
Cleaning the Unit and Control Panel
To maintain the appearance and functionality of your JVC car stereo, regular cleaning is essential. Use a soft, dry cloth to gently wipe the unit’s casing and control panel. Avoid harsh chemicals, solvents, or abrasive cleaners, as these can damage the surface. For stubborn dirt or fingerprints, lightly dampen the cloth with water, ensuring it’s wrung out thoroughly to prevent moisture from entering the unit.
Pay particular attention to the buttons and display screen, cleaning them carefully to remove any dust or grime. Never spray liquid directly onto the stereo; always apply it to the cloth first. Consistent cleaning will help preserve the stereo’s aesthetic appeal and ensure long-lasting performance.
Protecting Against Extreme Temperatures
JVC car stereos are designed to operate within a specific temperature range. Avoid prolonged exposure to extreme heat or cold. During hot weather, prevent direct sunlight from shining on the unit for extended periods, as this can damage internal components. In cold weather, allow the stereo to warm up gradually after starting your vehicle; do not immediately increase the volume.
The manual advises waiting until the car’s temperature stabilizes. Sudden temperature changes can affect performance. Leaving the unit in a hot or freezing car for long durations should be avoided to ensure optimal functionality and longevity.
Software Updates (if applicable)
Certain JVC car stereo models may support software updates to enhance performance or add new features. Check the JVC website (http://www.jvc.net/cs/car/eudoc/) regularly for available updates specific to your model number. Updates are typically downloaded to a USB drive and then installed through the stereo’s settings menu.
Always follow the instructions provided with the update carefully. Incorrect installation can cause malfunctions. Back up any important data before updating, and ensure a stable power supply during the process to prevent interruptions.
Detailed Feature Explanations
Explore specific functionalities of your JVC stereo, like the KD-R420J or KD-X252 series, for a deeper understanding of its capabilities and settings.
KD-R420J Specific Features
The JVC KD-R420J boasts a range of features designed for enhanced audio enjoyment. This model, alongside variants like KD-R421E and KD-R421EU, offers compatibility with various media sources, including CD, USB, and Bluetooth streaming.
It’s equipped with a user-friendly interface and powerful sound customization options. Key features include the ability to connect external components and adjust volume levels for safe driving. Remember to consult the separate installation/connection manual for detailed guidance.
Prioritize safe operation by adjusting volume to hear external sounds, especially during cold weather conditions.
KD-X252/KD-X152 Series Features
The KD-X252/KD-X152 series from JVC offers a compact design with robust functionality. These models comply with regulatory standards, ensuring reliable performance. They support Bluetooth connectivity for hands-free calling and audio streaming from compatible devices.
Users can enjoy diverse audio sources, including FM/AM radio, USB drives, and auxiliary inputs. Always refer to the separate installation manual for proper wiring and connections.
Adjust volume carefully to maintain awareness of surrounding traffic sounds, particularly in challenging weather conditions.
Service Manual Information
Detailed service manuals, including schematic diagrams like the KD-S595 example, are available online at jvc.net/cs/car/eudoc/ for qualified technicians.
Accessing Service Manuals Online
For in-depth technical information, JVC provides service manuals accessible through their official website. Visit jvc.net/cs/car/eudoc/ to locate resources specific to your JVC car stereo model, such as the KD-R420J or KD-X252 series.
These manuals contain crucial details including schematic diagrams – exemplified by the KD-S595 – component layouts, and troubleshooting guides intended for experienced technicians.
Understanding these diagrams requires specialized knowledge, and attempting repairs without proper training is strongly discouraged. Always prioritize safety and consult a qualified professional for complex repairs.
Understanding Schematic Diagrams (KD-S595 Example)
Schematic diagrams, like those found in the KD-S595 service manual, are technical blueprints illustrating the internal electronic connections of your JVC car stereo. They depict components using standardized symbols, showing how signals flow through the system.
Interpreting these diagrams requires electronics expertise; they aren’t intended for casual users.
They detail voltage levels, resistor values, and component interactions. Attempting repairs based solely on a schematic without proper training can lead to further damage or safety hazards. Professional assistance is recommended.

Safety Information
Adjust volume to hear external sounds, preventing accidents. In cold weather, allow the unit to warm before use for optimal performance and longevity.
Volume Adjustment for Safe Driving
Prioritize safety while driving; JVC recommends adjusting the volume to a level where you can still clearly hear sounds from outside the vehicle – emergency sirens, horns, or other crucial auditory warnings. Excessive volume can mask these important signals, increasing the risk of an accident.
Regularly reassess the volume, especially when traveling on unfamiliar roads or in varying traffic conditions. Remember, maintaining awareness of your surroundings is paramount. A comfortable listening experience should never compromise your ability to drive safely and responsibly. Always be mindful of your auditory environment.
Precautions During Cold Weather
Extreme cold can affect your JVC car stereo’s performance. Avoid operating the unit immediately after starting your vehicle; allow the car’s interior temperature to rise first. This prevents potential condensation buildup inside the stereo, which could cause malfunctions.
If the unit exhibits unusual behavior in cold weather, wait for the car to warm up before attempting to use it. Do not force any buttons or functions. Patience is key to ensuring the longevity and proper operation of your car stereo system during colder months.
Regulatory Compliance
JVCKENWOOD ensures KD-X252/KD-X152/KD-X151 models comply with relevant directives. Detailed compliance statements are available within the full documentation.
JVCKENWOOD Compliance Statements (KD-X252/KD-X152/KD-X151)
JVCKENWOOD hereby declares that the radio equipment KD-X252/KD-X152/KD-X151 is in compliance with the applicable directives. This declaration covers adherence to essential requirements and other relevant provisions. Detailed information regarding specific standards met, including those related to electromagnetic compatibility and radio spectrum usage, can be found in the comprehensive documentation available on the JVC website (http://www.jvc.net/cs/car/eudoc/). These statements confirm the product’s conformity to European regulations, ensuring safe and reliable operation within the intended environment. Further details are accessible upon request.
Warranty Information
JVC products are warranted against defects in materials and workmanship under normal use. The warranty period varies by model and region; consult your purchase receipt or the separate warranty card included with your KD-R420J or KD-X252 series unit for specific details. This warranty does not cover damage resulting from misuse, accident, or unauthorized modification. To obtain warranty service, contact your authorized JVC dealer or JVCKENWOOD customer support, providing proof of purchase and a description of the issue.