This manual provides a comprehensive guide for installing the Honeywell TH8321WF1001 thermostat‚ ensuring proper setup and integration with HVAC systems for optimal performance and smart home connectivity.
1.1 Overview of the Honeywell TH8321WF1001 Thermostat
The Honeywell TH8321WF1001 is a WiFi-enabled‚ programmable thermostat designed for compatibility with various HVAC systems‚ including heat pumps and forced air systems. It features a touchscreen interface‚ scheduling capabilities‚ and smart home integration‚ making it a versatile and energy-efficient solution. The thermostat supports temperature differential adjustment‚ which can be accessed through the installation settings. Its design ensures seamless operation with existing HVAC setups‚ providing precise temperature control and remote accessibility through the Honeywell Home app. This thermostat is ideal for homeowners seeking advanced functionality and ease of use.
1.2 Importance of Proper Installation
Proper installation of the Honeywell TH8321WF1001 thermostat is crucial to ensure optimal performance‚ energy efficiency‚ and system compatibility. Incorrect wiring or setup can lead to malfunction‚ reduced efficiency‚ or even damage to the HVAC system. The manual provides detailed steps to guide users through compatibility checks‚ wiring configurations‚ and safety precautions. Following the installation guide ensures the thermostat operates seamlessly with existing systems and maintains its advanced features‚ such as WiFi connectivity and scheduling. Proper installation also prevents potential issues like display errors or connectivity problems‚ ensuring reliable temperature control and smart home integration.
1.3 Key Features of the Honeywell TH8321WF1001
The Honeywell TH8321WF1001 thermostat offers advanced features like WiFi connectivity for smart home integration and remote control via the Honeywell Home app. It includes a programmable schedule to optimize energy usage and maintain consistent temperatures. The thermostat also features a touch screen interface for easy navigation and adjustments. Additionally‚ it supports geofencing and voice control through compatible smart home systems. The device allows users to adjust the temperature differential for precise heating and cooling control‚ enhancing comfort and energy efficiency. These features make it a versatile and modern solution for managing HVAC systems effectively.
Pre-Installation Checks
Ensure HVAC system compatibility‚ gather required tools‚ and review safety precautions before starting the installation of the Honeywell TH8321WF1001 thermostat for a smooth process.
2.1 Compatibility with HVAC Systems
Verify that the Honeywell TH8321WF1001 thermostat is compatible with your HVAC system. It supports most heating‚ cooling‚ and heat pump systems‚ including multi-stage setups. Ensure the system’s voltage matches the thermostat’s requirements. Additionally‚ check if your system uses a common wire (C-wire)‚ as the TH8321WF1001 requires it for Wi-Fi functionality. If your system lacks a C-wire‚ consider using a compatible adapter or checking for alternative wiring solutions. Compatibility ensures proper operation and avoids potential installation issues.
2.2 Tools and Materials Required
To install the Honeywell TH8321WF1001 thermostat‚ you will need a few essential tools and materials. A screwdriver (both Phillips and flathead) is necessary for removing the old thermostat and mounting the new one. Wire strippers may be required if you need to trim or connect wires. A drill and wall anchors are recommended for securing the thermostat base to the wall. Additionally‚ ensure you have access to the thermostat’s mounting screws and any adapter plates if your existing wiring configuration differs. Having a voltage tester on hand can also be helpful to verify power levels before starting the installation process.
2.3 Safety Precautions
Before starting the installation of the Honeywell TH8321WF1001 thermostat‚ ensure the power to your HVAC system is turned off at the circuit breaker or fuse box. Verify the voltage levels using a voltage tester to avoid electrical shock. Handle wires carefully to prevent damage or short circuits. Wear protective gloves and eyewear if necessary. Use the correct tools for the job to avoid stripping screws or damaging components. Always follow the manufacturer’s instructions and local safety guidelines. Failure to observe these precautions could result in injury‚ system damage‚ or voiding the product warranty. Safety should always be the top priority during installation.
Step-by-Step Installation Guide
Mount the thermostat‚ connect wires carefully‚ and power it on. Follow the on-screen prompts for setup‚ ensuring all connections are secure and correct for optimal functionality.
3.1 Mounting the Thermostat
Begin by attaching the thermostat base plate to the wall‚ ensuring it is level and securely fastened. Mark the wall for drilling pilot holes if necessary. Gently remove the thermostat from its packaging and align it with the base plate. Attach the thermostat to the base by snapping it into place or using the provided screws. Ensure the device is properly seated and aligned for accurate temperature sensing. Double-check that the thermostat is level to avoid any installation issues. Once mounted‚ verify that all components are securely in place before proceeding to the wiring stage.
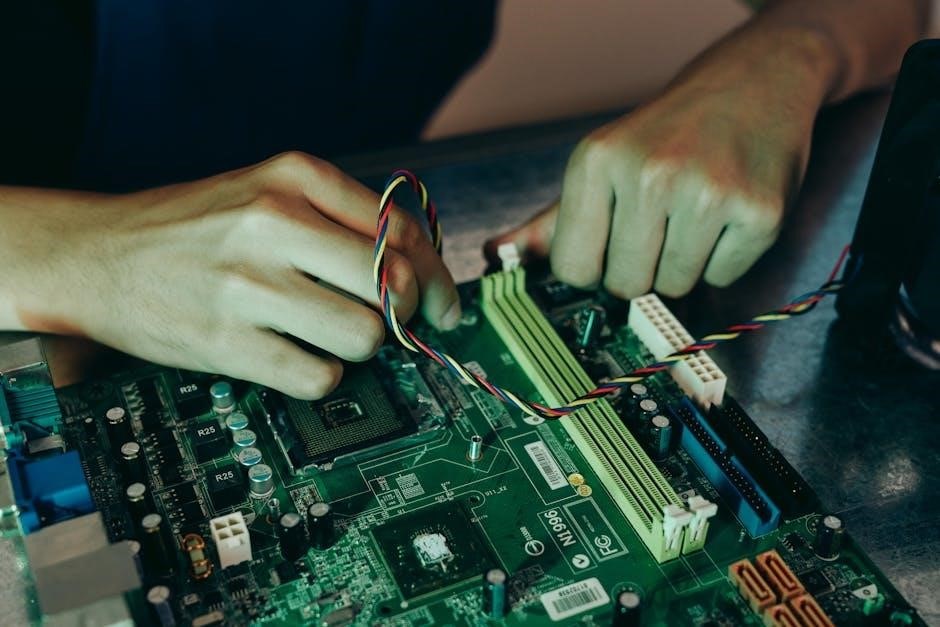
3.2 Connecting the Wires
Before connecting the wires‚ ensure the power to your HVAC system is turned off. Locate the appropriate terminals on the thermostat and match them to your system’s wires. Typically‚ wires are labeled R‚ W‚ Y‚ G‚ and C. Connect the R wire to the R terminal‚ the W wire to the W terminal‚ and so on. If you have a common wire‚ connect it to the C terminal. Secure all connections firmly to prevent loose wires‚ which can cause malfunctions. Once all wires are connected‚ double-check the connections for accuracy and ensure there are no exposed wires. Finally‚ turn the power back on and test the thermostat to confirm proper operation.
3.3 Powering On the Thermostat
After completing the wiring connections‚ turn the power to your HVAC system back on; The thermostat will automatically power on and display the initial setup screen. Follow the on-screen prompts to select your preferred language and unit of measurement. If the thermostat does not power on‚ check that all wires are securely connected and that the power source is functioning properly. Once powered on‚ the thermostat will enter a self-test mode to ensure all components are working correctly. If no issues are detected‚ you can proceed to configure the settings or connect to WiFi for smart functionality.
Wiring Diagram and Configuration
Understand the wiring diagram to ensure correct connections. Match the thermostat terminals with your HVAC system’s wires. Refer to the diagram for common configurations and wire labels. Proper wiring ensures safe and efficient operation of your Honeywell thermostat.
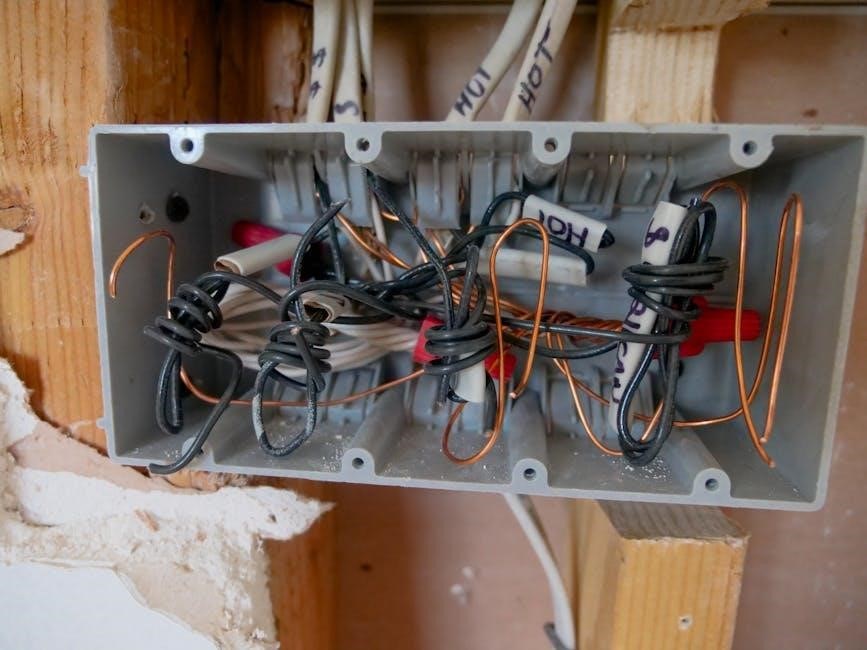
4.1 Understanding the Wiring Labels
Understanding the wiring labels is crucial for a successful installation. The Honeywell TH8321WF1001 uses standard HVAC wiring labels‚ such as R (24V power)‚ W (heating)‚ Y (cooling)‚ G (fan)‚ and C (common). These labels correspond to your system’s wiring. Knowing their functions ensures proper connections. Incorrect wiring can lead to system malfunctions or safety hazards. Always refer to the wiring diagram provided in the manual or consult a professional if unsure. Proper label identification is the first step to a safe and efficient thermostat setup.
4.2 Common Wiring Issues and Solutions
Common wiring issues include loose connections‚ which can cause malfunctions. Verify all wires are securely attached; Misidentified labels may lead to incorrect connections‚ so cross-reference labels with the wiring diagram. Short circuits or reversed polarity can damage the thermostat or HVAC system. To resolve‚ ensure wires match their designated terminals. If issues persist‚ consult the wiring diagram or contact a professional. Proper wiring ensures safe and efficient system operation. Always double-check connections before powering on the thermostat to avoid potential damage or safety risks.
Thermostat Configuration and Settings
Navigate the menu to customize temperature settings‚ schedules‚ and system preferences. Configure energy-saving modes and ensure all settings align with your HVAC system requirements for optimal performance.
5.1 Setting Up the Thermostat Menu
Access the thermostat menu by touching the screen or pressing the buttons‚ depending on your model. Use the navigation arrows to scroll through options like temperature settings‚ scheduling‚ and system preferences. Select Menu to enter the configuration mode. Here‚ you can customize energy-saving modes‚ adjust temperature limits‚ and set fan operation. Ensure all settings are configured according to your HVAC system requirements. Review and confirm each setting to optimize performance and energy efficiency. The menu also allows you to enable features like smart recovery and geofencing for advanced control. Save your preferences to complete the setup process.
5.2 Adjusting Temperature Differential
Temperature differential determines the range at which your HVAC system cycles on and off. Access the menu and navigate to Installer Settings or Advanced Settings. Select Temperature Differential and use the arrows to adjust the heat and cool differential values. A lower differential (e.g.‚ 0.5°F) reduces cycling frequency‚ while a higher value (e.g.‚ 1.5°F) can improve efficiency. Adjust both heating and cooling differentials as needed‚ ensuring optimal performance. After setting‚ review the changes and save to apply them. Monitor system behavior to ensure smooth operation and energy efficiency.
5.3 Scheduling and Programming
Scheduling and programming allow you to customize temperature settings based on your daily routine. Access the Menu and select Schedule to create or modify a schedule. Choose from pre-set templates or create a custom schedule by setting temperature points for specific times. Use the Set Schedule option to activate your preferences. For smart operation‚ enable Geofencing to adjust temperatures based on your location. Ensure to save all changes to maintain your settings. Regularly review and update your schedule to optimize comfort and energy efficiency. This feature ensures your system runs efficiently and aligns with your lifestyle.
WiFi and Smart Home Integration
Integrate your Honeywell TH8321WF1001 with WiFi and smart home systems for enhanced convenience and efficiency. Enjoy remote access and seamless voice control through compatible platforms.

6.1 Connecting to WiFi
To connect your Honeywell TH8321WF1001 thermostat to WiFi‚ navigate to the settings menu and select the WiFi option. Choose your network from the list‚ enter your password‚ and confirm. Ensure your router is nearby and operating on a 2.4GHz frequency. If prompted‚ wait for the thermostat to complete the connection process. A confirmation message will appear once connected. If issues arise‚ restart your router‚ check your password‚ or move the thermostat closer to the router for better signal strength. A stable connection is essential for smart home integration and remote functionality.
6.2 Registering the Thermostat
After connecting to WiFi‚ register your Honeywell TH8321WF1001 thermostat using the Honeywell Home app. Download and install the app‚ then create an account or log in if you already have one. Open the app‚ select “Add Device‚” and follow the prompts to register your thermostat. You may need to enter a verification code or scan a QR code displayed on the thermostat’s screen. Once registered‚ you’ll receive a confirmation message. This step is essential for remote access and smart home integration. If issues occur‚ ensure your WiFi connection is stable and contact Honeywell support for assistance.
6.3 Smart Home Compatibility
The Honeywell TH8321WF1001 is designed to integrate seamlessly with popular smart home systems. It is compatible with Amazon Alexa and Google Assistant‚ allowing voice control of your thermostat. Additionally‚ it works with other smart devices through platforms like Samsung SmartThings. To enable smart home features‚ ensure your thermostat is registered and connected to WiFi. Use the Honeywell Home app to link your thermostat to your smart home ecosystem. This integration enhances convenience‚ enabling remote temperature adjustments and automated scenarios. Regular software updates ensure compatibility with new smart home technologies and devices.
Troubleshooting Common Issues
Address common issues like display malfunctions‚ connectivity problems‚ or error codes by consulting the troubleshooting guide in the manual for quick‚ effective solutions.
7.1 No Power or Display Issues
If the Honeywell TH8321WF1001 thermostat has no power or the display is blank‚ check the circuit breaker or fuse box to ensure power is not interrupted. Verify that all wires are securely connected‚ as loose connections can cause malfunctions. Ensure the thermostat is properly mounted and powered. If the display remains off‚ try resetting the thermostat by pressing and holding the “Menu” button for 10 seconds. If the issue persists‚ consult the troubleshooting section of the manual or contact Honeywell support for further assistance.
7.2 Connectivity Problems
If the Honeywell TH8321WF1001 thermostat fails to connect to Wi-Fi‚ ensure your network is functioning properly and restart both the thermostat and router. Verify that the Wi-Fi password is entered correctly and that the thermostat is within range of the router. Check for any physical obstructions or interference from other devices. If issues persist‚ ensure the thermostat’s firmware is up to date. Consult the wiring diagram to confirm all connections are secure‚ especially the C-wire. If problems remain unresolved‚ contact Honeywell support for further troubleshooting assistance.
7.3 Error Codes and Solutions
The Honeywell TH8321WF1001 may display error codes like E1‚ E30‚ or E42. E1 indicates a temperature differential issue‚ which can be resolved by adjusting the temperature differential setting in the menu. E30 suggests a sensor problem; clean the sensor or replace it if damaged. E42 refers to Wi-Fi connectivity issues; restart the thermostat and ensure a stable internet connection. For persistent errors‚ check wiring connections and ensure the C-wire is properly installed. If issues remain‚ refer to the troubleshooting guide or contact Honeywell support for assistance. Always ensure firmware is up to date for optimal performance.

Maintenance and Upkeep
Regularly clean the thermostat with a soft cloth and check wiring connections. Update software periodically for optimal performance. Replace batteries if applicable to ensure reliability.
8.1 Cleaning the Thermostat
Regular cleaning ensures optimal performance and longevity of the Honeywell TH8321WF1001. Use a soft‚ dry cloth to wipe the thermostat’s exterior‚ display‚ and sensors. For stubborn spots‚ lightly dampen the cloth but avoid harsh chemicals or liquids. Clean the device every 1-2 months to prevent dust buildup‚ which can affect temperature accuracy. Always power off the thermostat before cleaning to avoid electrical issues; This simple maintenance step helps maintain precise temperature control and energy efficiency. Tip: Avoid touching the screen excessively to prevent smudges and fingerprints.
8.2 Updating Software
8.3 Battery Replacement (if applicable)
The Honeywell TH8321WF1001 typically does not require battery replacement as it is powered directly by your HVAC system. However‚ if your model includes a backup battery‚ ensure it is replaced with the correct type (usually AA or lithium). Turn off power at the circuit breaker before accessing the battery compartment. Remove the front plate and replace the battery following the manual’s instructions. Dispose of the old battery responsibly. After replacement‚ restore power and test the thermostat’s functionality. Always refer to the manual for specific guidance‚ as battery requirements may vary depending on the model and installation. Regular checks ensure reliable performance.
Successful installation and setup of the Honeywell TH8321WF1001 thermostat ensure optimal performance‚ energy efficiency‚ and comfort. Proper use of its advanced features enhances your home’s climate control system‚ providing reliable operation and smart functionality for years to come.
9.1 Final Checks and Verification
After completing the installation‚ perform a final system check to ensure everything functions correctly. Verify the thermostat display is active and responsive. Test heating and cooling modes to confirm proper operation. Check WiFi connectivity to ensure smart features are accessible. Review programmed schedules and settings for accuracy. Ensure all wires are securely connected and no error codes are displayed. Confirm that the thermostat is synchronized with your HVAC system. Finally‚ verify that smart home integrations are working seamlessly. These checks ensure your Honeywell TH8321WF1001 is installed correctly and ready for efficient‚ reliable performance.
9.2 Resources for Further Assistance
For additional support‚ refer to the Honeywell TH8321WF1001 official website‚ which offers comprehensive guides and troubleshooting tips. Downloadable PDF manuals are available for detailed instructions. Contact Honeywell’s customer support for direct assistance with technical issues; Online forums and HVAC professional networks provide peer-to-peer advice. Ensure to register your thermostat for warranty and updates. Explore Honeywell’s FAQ section for common queries. For complex issues‚ consult certified HVAC technicians. These resources ensure uninterrupted functionality and optimal performance of your Honeywell TH8321WF1001 thermostat‚ providing peace of mind and reliable climate control.